Founder & Designer
Meet Judith
In 2005, I sat down at my kitchen table in Nashville with wire, gemstones, and an idea that wouldn't leave me alone: jewelry should mean something.
Twenty-one years later, our artisans still make every piece by hand in our 12 South studio. No machines. No factories. No overseas production. Just skilled hands, 45 genuine gemstones, and 14K gold-filled metal that's built to last decades — not months.
Every piece in the collection is named after someone real in my life. Every gemstone carries a meaning. And every order is made for you, from the moment you choose your stone.
Our jewelry has appeared on Gossip Girl, on Jennifer Lopez, on Meryl Streep, and in Oscar-nominated films. The Nashville Business Journal named me one of Nashville's Most Admired CEOs and a Woman of Influence. But the thing I'm proudest of is this: most of our customers come back. They come back for the next birthstone, the next birthday, the next "just because." That's the whole point.
We call it bridge jewelry — the quality and craft of fine jewelry at a price that lets you build a real collection.
Come see us at our studio in 12 South. Or start here — find your gemstone, pick your meaning, and we'll make it just for you!
xx, jb


A Mini Interview
Get to Know Judith
ORIGINALLY FROM: Washington, DC
BIRTHSTONE: Opal/Tourmaline
SIGN: Scorpio
WHAT MOST PEOPLE DON'T KNOW ABOUT YOU: I'm an End-Of-Life Doula
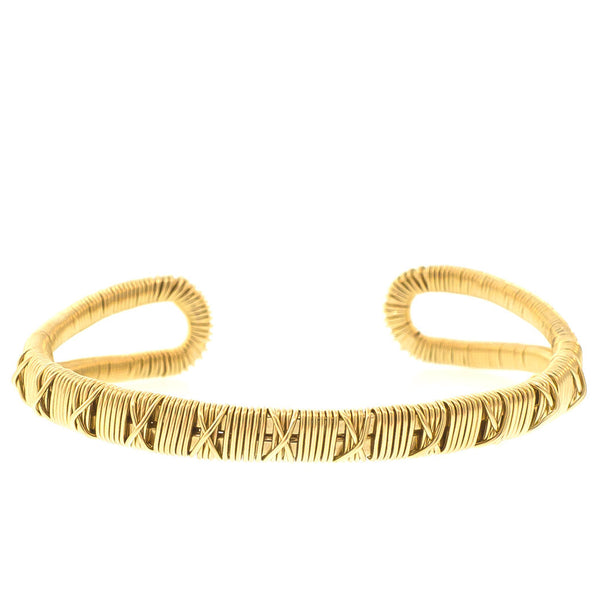
JB PIECE YOU WOULDN'T LEAVE HOME WITHOUT: My Rockstar ring, double-stacked wide-wrapped bands, my crossover band, and my thin wrapped cuffs.
FAVORITE TV SHOW: Sex in the City
DESERT ISLAND ALBUM: Fleetwood Mac Rumours
FAVORITE GEMSTONE: Labradorite
FAVORITE MEAL: Sushi & Sake
FAVORITE QUOTE: "If a task is once begun, never leave it 'til it's done, be the labor great or small, do it well or not at all" - my old boss Quincy Jones
Judith's Path
How It Started
1964
Born Judith La Gorce in Washington, DC
1970
Discovers mom’s jewelry box, time stands still
1972
Unfounded fear that Mom’s jewelry box has been stolen, but later found under chaise where mom hid it from burglars (and Judith). Judith breathes huge sigh of relief.
1977
Relatives tire quickly of Judith’s ‘playing ring’ game: how many ways can one stack and combine rings on a finger.
1981-1989
After working as a candy-striper, Judith chooses nursing as her career. Graduates from Vanderbilt University Nursing School in Nashville, Tenn., Heads to LA to work with AIDS patients at Cedar’s Sinai Medical Center. Ends nursing career—too exhausting and sad—and lands job as production assistant on “Growing Pains,” exhausting & complete opposite of sad.
Big Life & Career Moves
The Start of Judith Bright
1990
Works at Disney for an Australian film director. Main job is to help director not call every female executive “Sheila.” Successfully accomplishes this goal.
1991
Marries man with an incredibly optimistic name: Will Bright. Little does she know that this will one day become a wonderful jewelry brand moniker as well.
1992
Lands wonder-job with Quincy Jones, and finally gets serious about work.
1997
Baby boy #1 is born.
1999
Baby boy #2 is born. Judith becomes President of Quincy’s publishing company.
2001
Baby boy #3 is born. Whew! Thoughts return to the simplicity of ‘playing ring.’
2002
Retires from Quincy Jones to chase dream career as a jewelry designer.
2003
Moves family to Florence, Italy to take big-time jewelry classes. Starts drinking wine at lunch in order to fit in. Unable to wear “European” sized jeans, she buys lots of scarves instead.
2004
Family settles in Nashville, TN and Judith turns 40.
2005
Sets up Judith Bright jewelry business, spends days sketching designs, sipping cappuccinos and waxing on poetically about peridots and citrine. Actually, spends days creating jewelry like a woman possessed; nights with toothpicks in eyes doing Internet research.
2007
Glass slipper finally fits, launches website, www.judithbright.com
2008-2009
Jewelry appears on network television programs, “Gossip Girl,” “Samantha Who?,” and “The New Adventures of Old Christine.”
2010
Opens Flagship Store in The Mall at the Green Hills, Nashville, TN Jewelry appears in the major film releases, “The Back-up Plan” on Jennifer Lopez and “The Rebound” on Catherine Zeta-Jones.
How It's Going
Jewelry for All
2011
JB Voted “Best Handmade Jewelry” by Nashville Scene Poll, “Top 3 New Retail Stores & Top 3 Jewelry Stores”. Jewelry appears on Carla Gugino in “Mr. Popper’s Penguins & Frances McDourmand in “This Must Be The Place”. Jewelry worn by cast of TV series “Happy Endings”.
2012
JB opens store in Atlanta. Jewelry worn by Meryl Streep in “Hope Springs” and by Abbie Cornish in “Seven Psychopaths”.
2013
JB jewelry featured on the CBS TV Show “Partners”. JB donates to many charities in 2013.
2014
Judith moves out of the Mall at Green Hills to a house in the 12 South neighborhood of Nashville. Jewelry appears in feature film “Lullaby” on Anne Archer & Jessica Brown Findlay. Voted Top 3 Jewelry stores in Nashville by the Nashville Scene Poll.
2015
Judith hires 3 more full-time employees, launches a brand new website.
2016
Judith hires more people and has jewelry featured in “Bad Moms” and “Lights Out”.
2017
Atlanta location moves to space three times the size and 10 times more beautiful and installs a jewelry maker there. Jewelry featured in Silicon Valley & Mozart in the Jungle.
2018
Procures a studio space for manufacturing in Nashville. Hires additional jewelry makers to crank out more jewelry. Jewelry appears in Oscar nominated film, Three Billboards Outside of Ebbing, MO. Judith voted as a Nashville Business Journal “Woman of Influence”. Summits Mt. Kilimanjaro in Tanzania.
2019
Judith travels to Israel, Hong Kong and Croatia. Becomes the Community Chair for the Nashville Chapter of EO and the Programming Chair for NAWBO. Joins the Vanderbilt University Dean’s Advisory Board. Raced her boys down the slopes after Christmas.
2020
Things were going swimmingly, then COVID hit. Our stores were closed for 4 months. During that time we said goodbye to our Atlanta store and opened our Franklin, TN store. The JB team rallied and persevered. Judith named as Most Admired CEOs by The Nashville Business Journal.
2021
Life returns to almost normal, the stores are in full-swing and we are nominated as one of the best places to work in Nashville by the Nashville Business Journal. New designs are flowing and some archival pieces return. We open a new store with an open-studio concept at L&L Market in The Nations neighborhood in West Nashville.
2022
Judith becomes certified as an End-of-Life Doula by the Conscious Dying Institute and volunteers at Alive Hospice in Nashville. She embarks on the Leadership Nashville year-long cohort. Several designs emerged and innovations made on existing lines.
2023
Judith joins the board of The Nashville Entrepreneur’s Organization as Co-Chair of Strategic Alliances. She also Co-Chairs the Nashville Entrepreneur Center’s giving society: The McWhorter Circle as well as joins The Entrepreneur Center Board.
2024
Judith co-chairs the Prelude Party for the Tennessee Performing Arts Center Gala, travels to Singapore to represent Nashville’s EO Chapter at the annual Global Summit, and celebrates the debut of the Shimmer Shack at our flagship location. She joins the board of the Nashville Entrepreneur Center and continues work on the Dean’s Advisory Council at Vanderbilt University Nursing School.
2025
Judith joins the board of the Tennessee Performing Arts Center. Co-chairs the Nashville Entrepreneur Center’s NEXT Awards and continues her End-of-Life Doula work at Alive Hospice. She designs a Dove Charm Necklace for The Tennessee Innocence Project. She joins the Strategic Council of the Nashville Chapter of the Entrepreneurs’ Organization. The end of 2025 sees the closure of the Franklin store after 5 years to consolidate operations and concentrate on the 12 South Flagship store and web boutique. The 12 S Studio has its strongest year ever.
2026
New designs keep coming, the collection grows, the team is incredible, and the gemstones still do the talking. A brand new website launches. Twenty-one years in, and we're just getting started.
a few of
Judith's Favorites


Rockstar Twisted Wire Nest Ring


Dominique Earrings


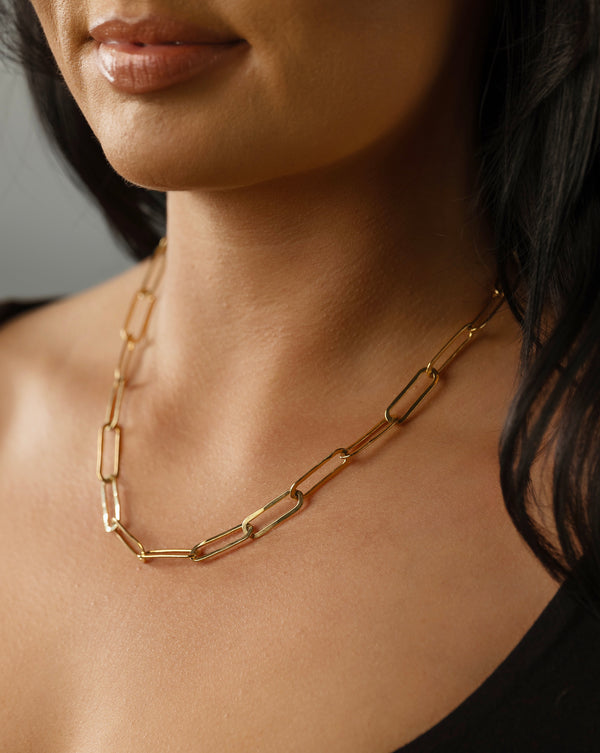
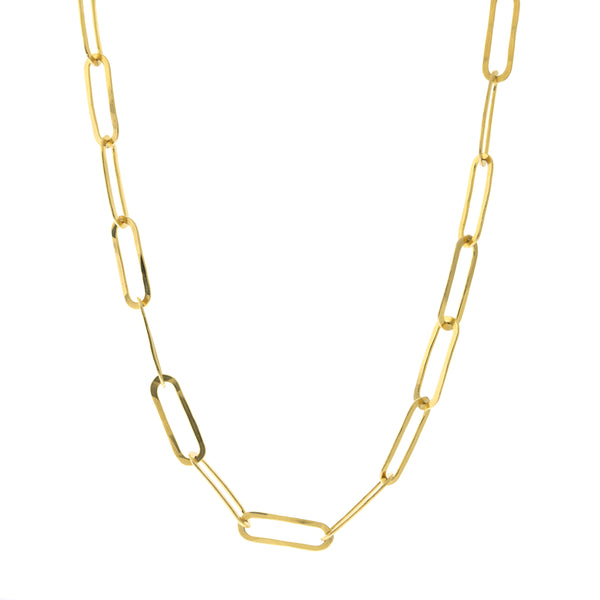
Kate Necklace


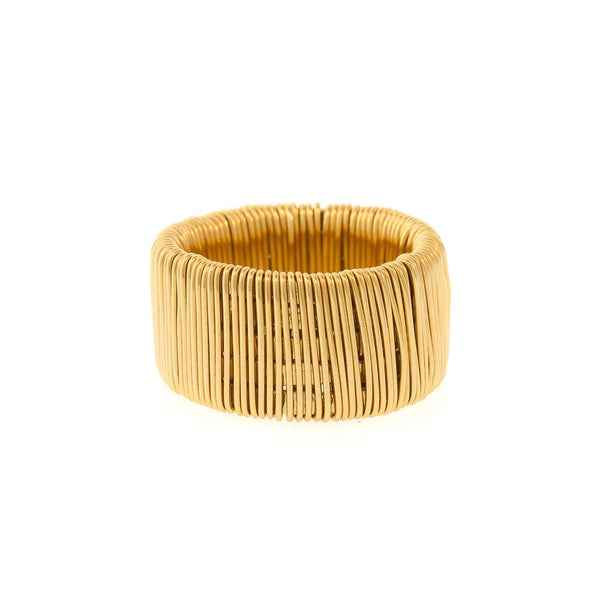
Wide Wrapped Band


Cleo Hoops


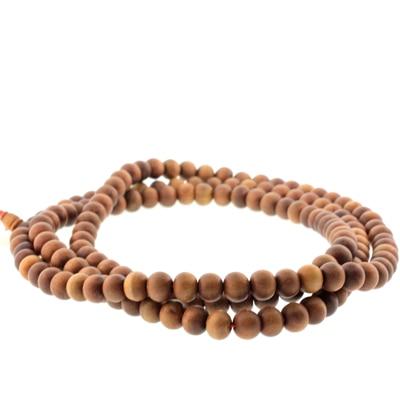
Sandalwood Necklace


Crossover Band